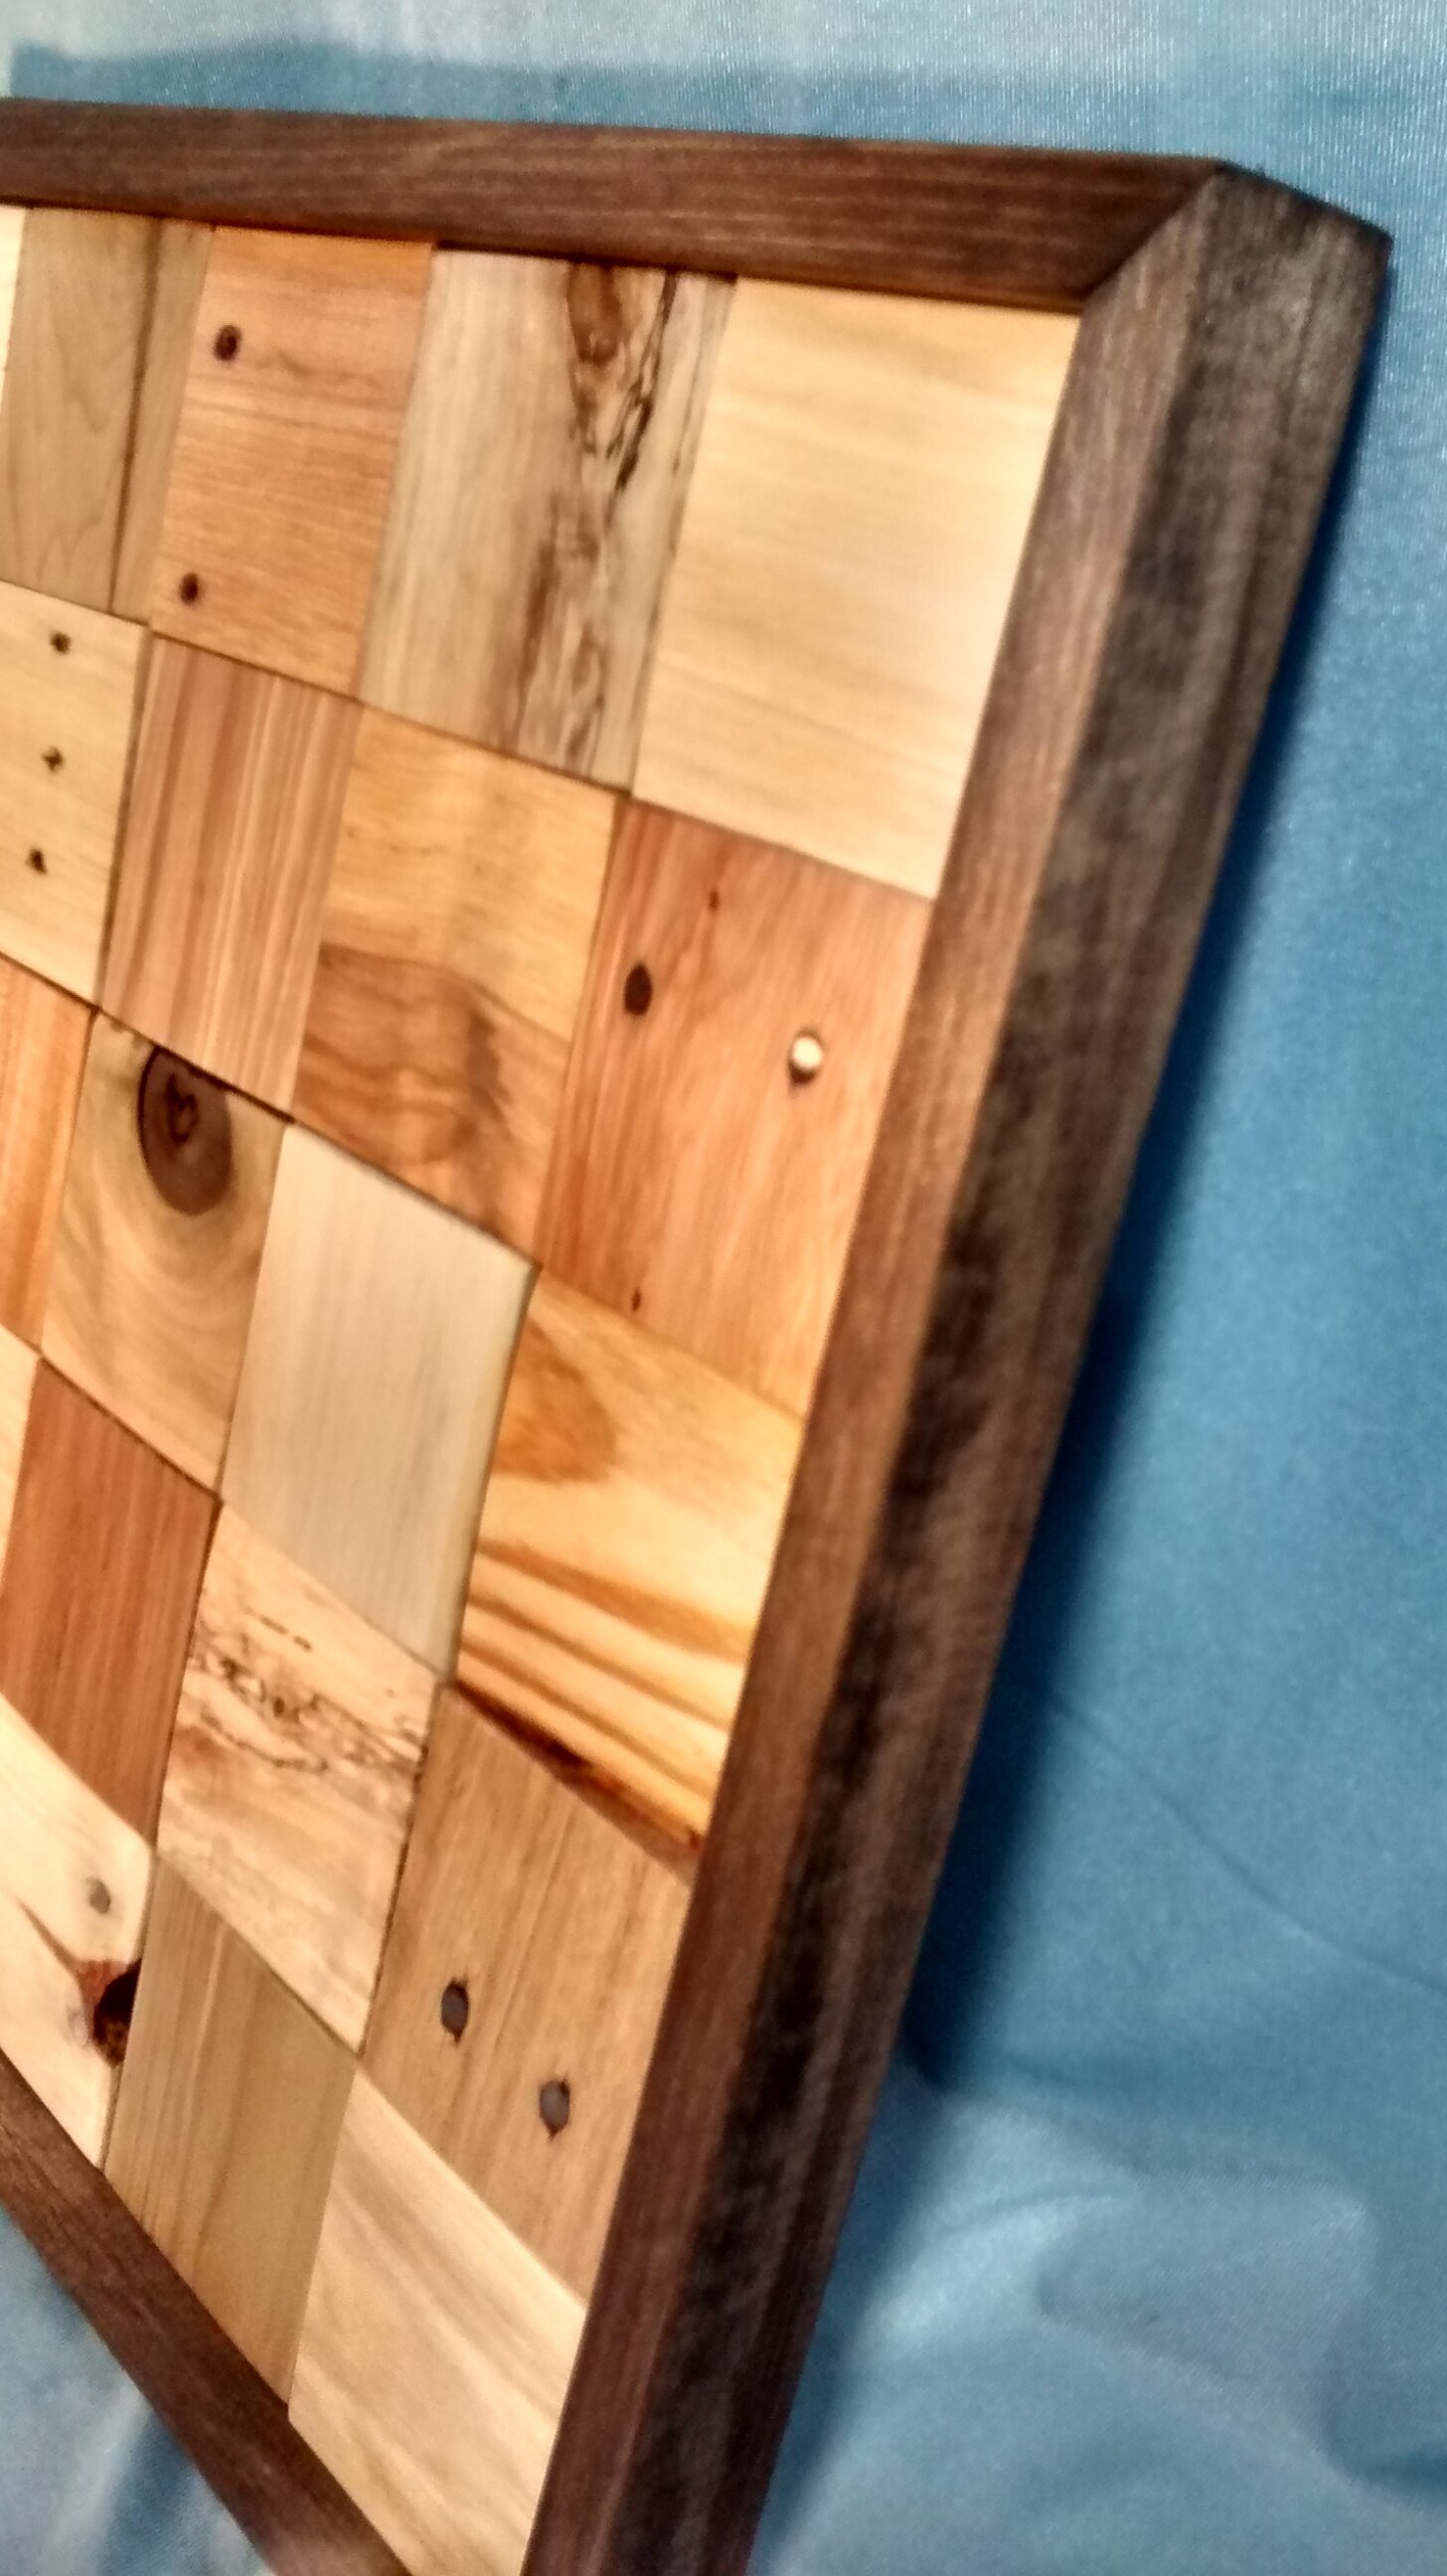
25 Small Squares Reclaimed Wood Wall Art
Dimensions: 18 inches square and 1.5 inches thick; Weight, 5 pounds. I made five of these pieces and though they share the same basic design each is unique, so check out all of them to see if one appeals most to you. Looking a bit like patchwork cloth quilts (which I’ve never made) or a mosaic tile project (which I’m very familiar with), they all show off the wide variety of natural tones and grain patterns found in pallet wood. Wouldn’t they look nice in a living room, den, bedroom or office? Each has a pair of D-rings and a connecting picture wire on the back, so all you need to hang them is a single nail and a hammer. $150. Click here to purchase.
25 Small Squares Reclaimed Wood Wall Art #1
25 Small Squares Reclaimed Wood Wall Art #2
25 Small Squares Reclaimed Wood Wall Art #3
25 Small Squares Reclaimed Wood Wall Art #4
25 Small Squares Reclaimed Wood Wall Art #5
The Story
In the spirit of upcycling, I try not to waste raw materials. So, I typically save all the decent-sized pieces of wood leftover from my various projects. After completing many pallet wood projects, I figured it was time to put a lot of these short scraps to use, along with a few others long pieces, including some that were too warped to use in segments longer than a few inches. Since most pallet wood is 3.25 inches wide (or only slightly wider), I set a stop on my miter saw and just cut a lot of squares. Whenever I could, I included nail heads/holes, and natural features such as knots for a rustic look and visual interest. The pieces vary a bit in thickness, which I like, because it gives the final piece slightly more texture/depth. To accentuate those minor differences (and have a consistent square theme to the overall piece), I barely sanded the edges of the little squares. When choosing and arranging the 25 squares for each final piece, I had three guidelines. First, I intentionally chose a very distinctive center piece, to create a minor focal point. Second, I maximized the variability of the wood (tone, pattern) and arranged pieces so they’d look pretty randomly placed, but without having two similar pieces adjacent to one another. Third, I systematically alternated the direction of the grain (horizontal versus vertical) in side-by-side pieces. I numbered each square so I could easily recreate the design of all five pieces at the end, after all the interim processing steps took place. To finish each square, I applied clear (“Natural”) Watco Danish Oil to bring out the wood’s natural color and accentuate the grain pattern.
I chose a 5x5 grid in part because I just like the look and overall dimension of the final piece. I had made some much bigger wall art, so it seemed to me I should make some smaller pieces, to appeal to potential buyers’ diverse interests. But 5x5 also happened to be the size that would fit on some leftover pieces of 1/8-inch-thick underlayment, which I use as the backing pieces for most of my reclaimed wood wall art. I had to buy at least one more 4-foot-square sheet of new underlayment from The Home Depot to have enough backing material for the five pieces. Knowing the dimensions of the 5x5 arrangement, I cut the backing pieces slightly bigger to accommodate the frame.
I made the frames from 1x2 pine lumber. For two or three of the five frames I was able to use pieces leftover from my Urban Sign Serving Trays, with the groove already routed out along one edge. I bought some more of the same lumber from The Home Depot and routed the same edge to make the remaining frames. I tried to make sure any knots or other interesting features would be visible on the front/sides of the completed frames, for more visual interest and an overall more rustic look. I barely sanded the long edges of the frame pieces, but did some rough sanding on the flat surfaces, to make the frame look more rustic and to provide a contrast with the smooth-topped squares. I attached the frame pieces to the backing piece with glue and half-inch screws, then applied a dark brown stain (Minwax “Jacobean”) to the frame, but didn’t apply poly, to maintain a more natural finish.
I painted black “shadow lines” on the backing piece in a grid pattern where all the edges would meet, so that in case of any small gaps, the natural color of the backing piece would not show. Finally, I glued the squares into their proper place within each frame two, three, or four at a time.
Related Items: Found Metal and Reclaimed Wood Circular Wall Art #1; Found Metal and Reclaimed Wood Circular Wall Art #2; Found Metal and Reclaimed Wood Circular Wall Art #3; Chevron Pattern Reclaimed Wood Wall Art; Plaid Basket-Weave Pattern Reclaimed Wood Wall Art; Parquet Design Reclaimed Wood Wall Art; Ten Stripe Design Reclaimed Wood Wall Art; Pyramidal Reclaimed Wood Wall Art; Stained and Natural D.C. Flags; Abstract Wall Art from Reclaimed Wood.


