Round Shovel Head in Reclaimed Wood Frame
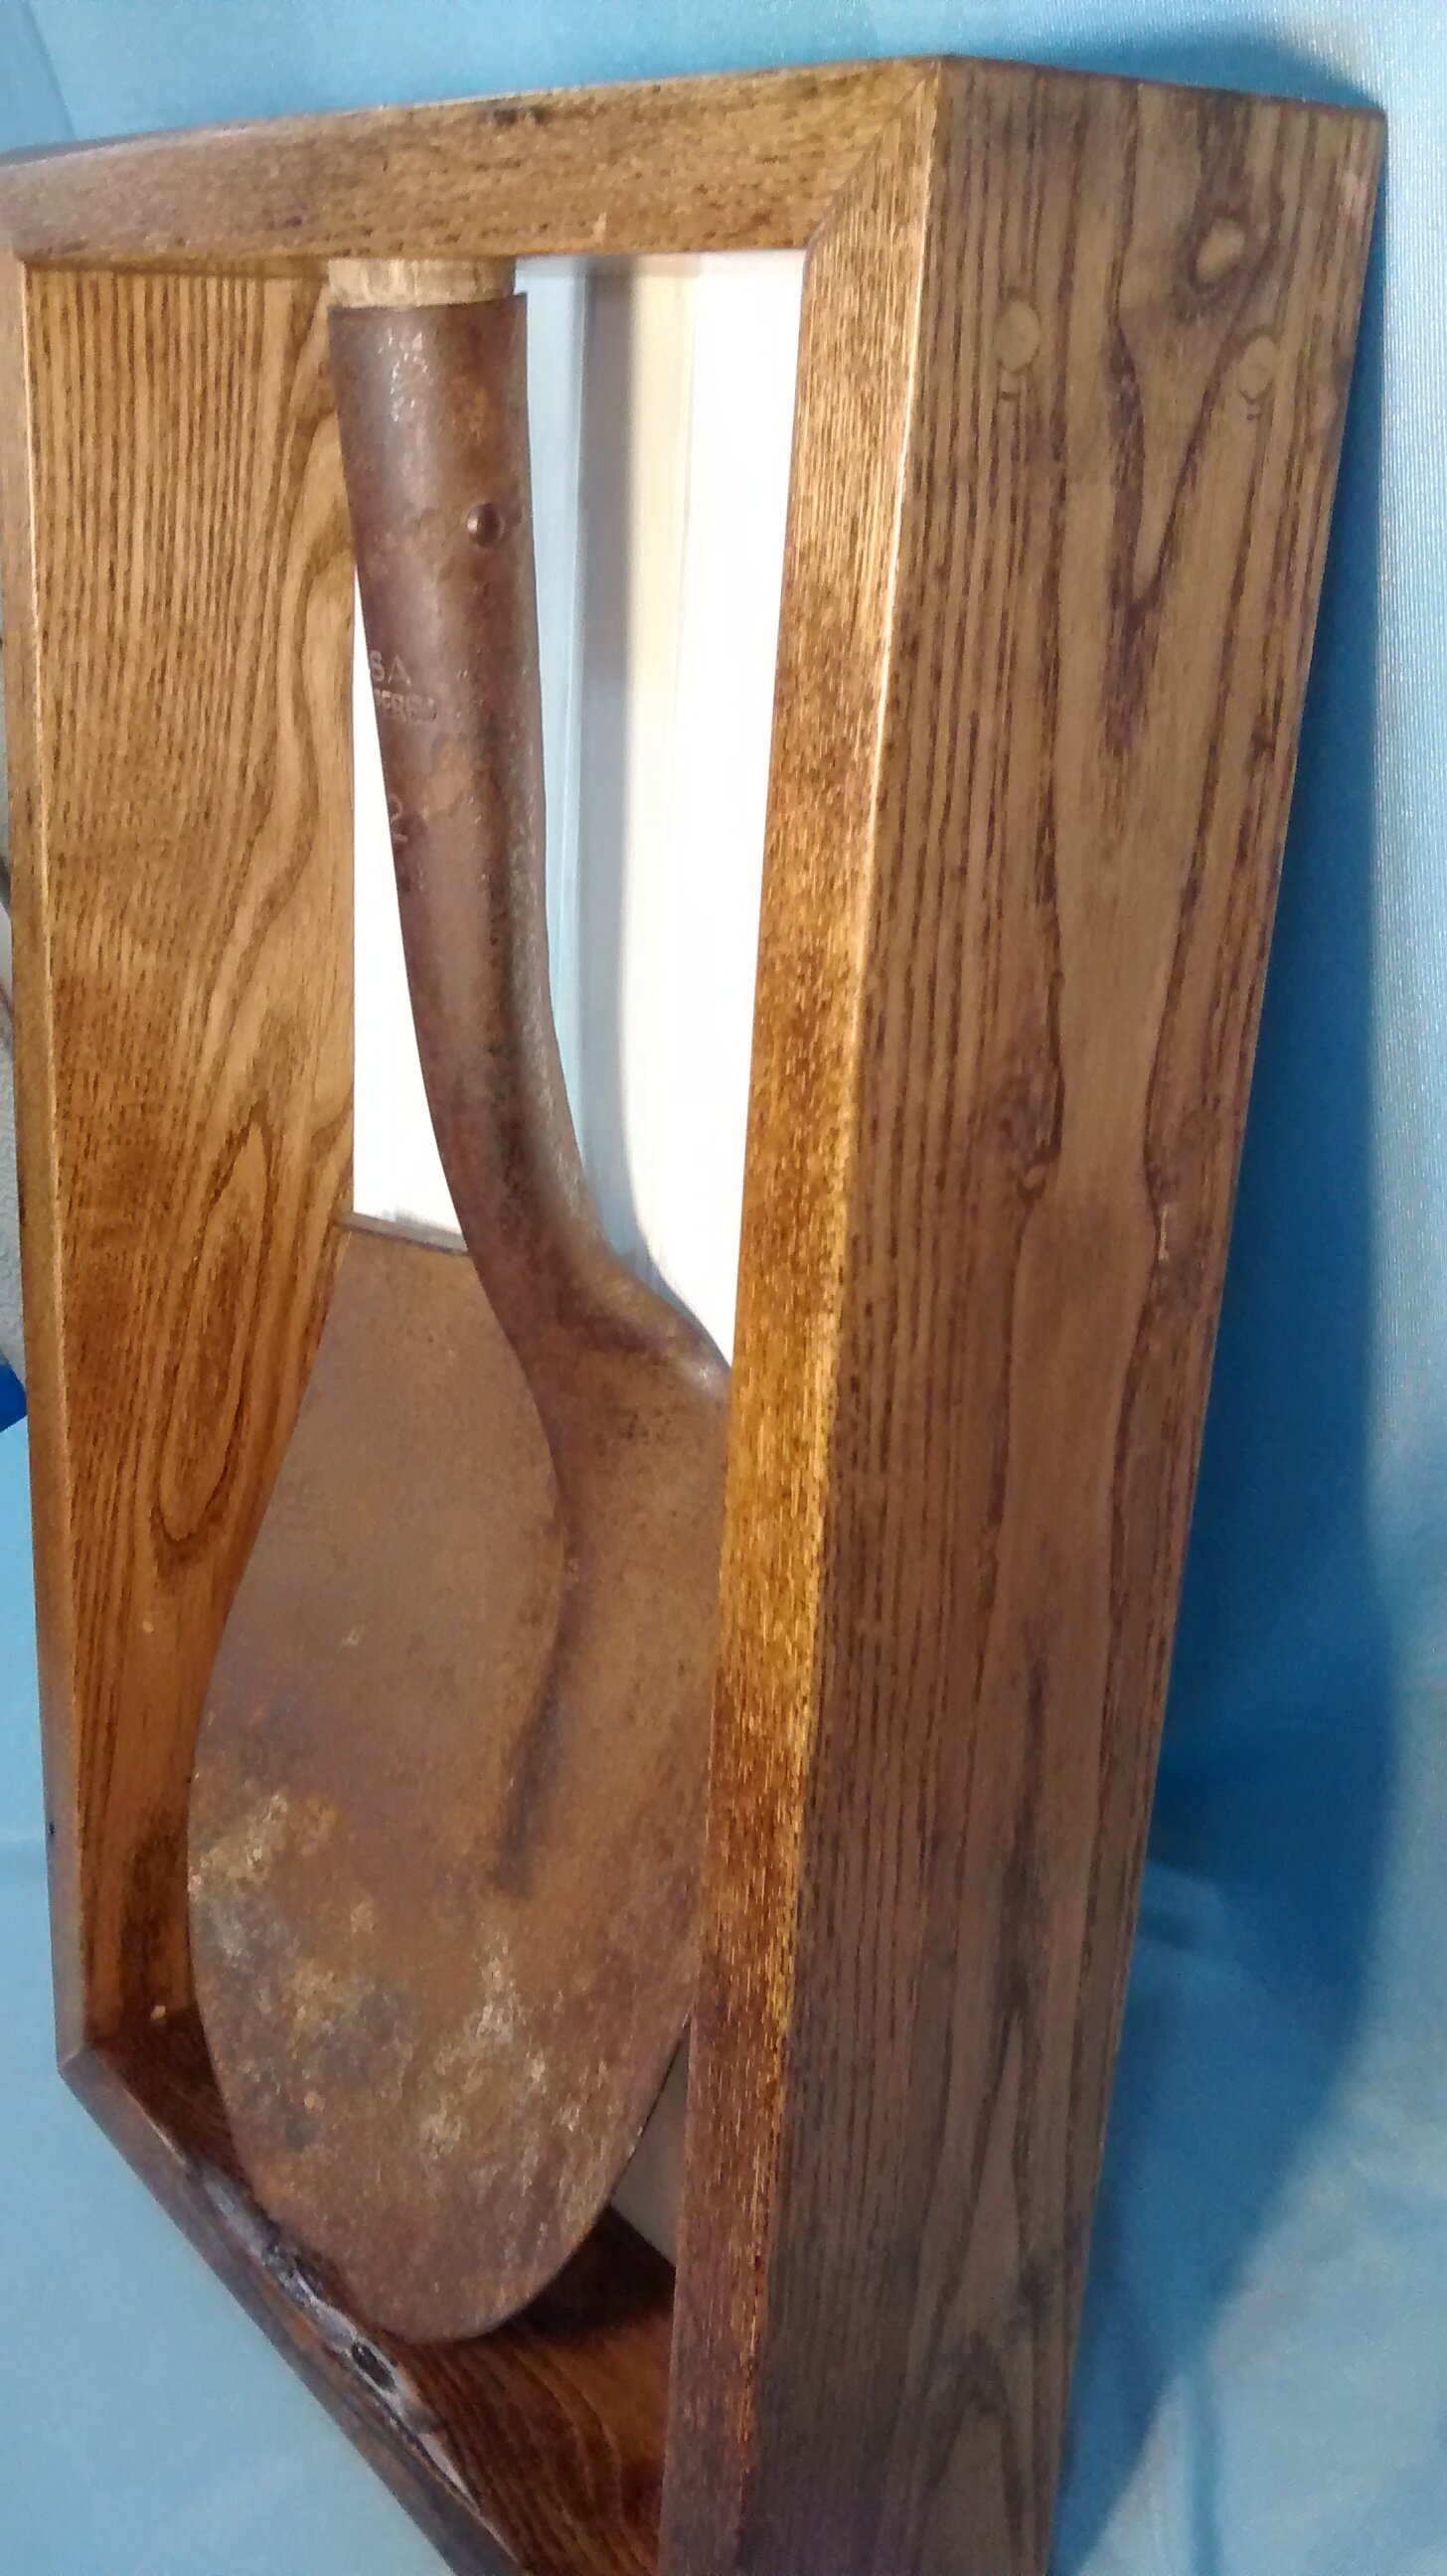
Dimensions: Length, 21.75 inches; Width, 13 inches; Depth 4 inches; Weight, 10 pounds. Okay, here’s the scoop: Not everyone will dig a framed shovel head, but I’m certain some people will. A unique and rustic agricultural/industrial piece might be just what you’d like to see on a wall inside your house, she-shed, man-cave, or perhaps in restaurant or bar with a farm-to-table theme. I have not attached D-rings to the back, because I don’t know which side you’d want up (I think the piece could look good with the head oriented up, down, or to the side), but if you tell me, I could do that for you before delivery. $125. But If you buy both framed shovel heads, like a fork and spoon set, I can give you a little discount. Click here to purchase.
The Story
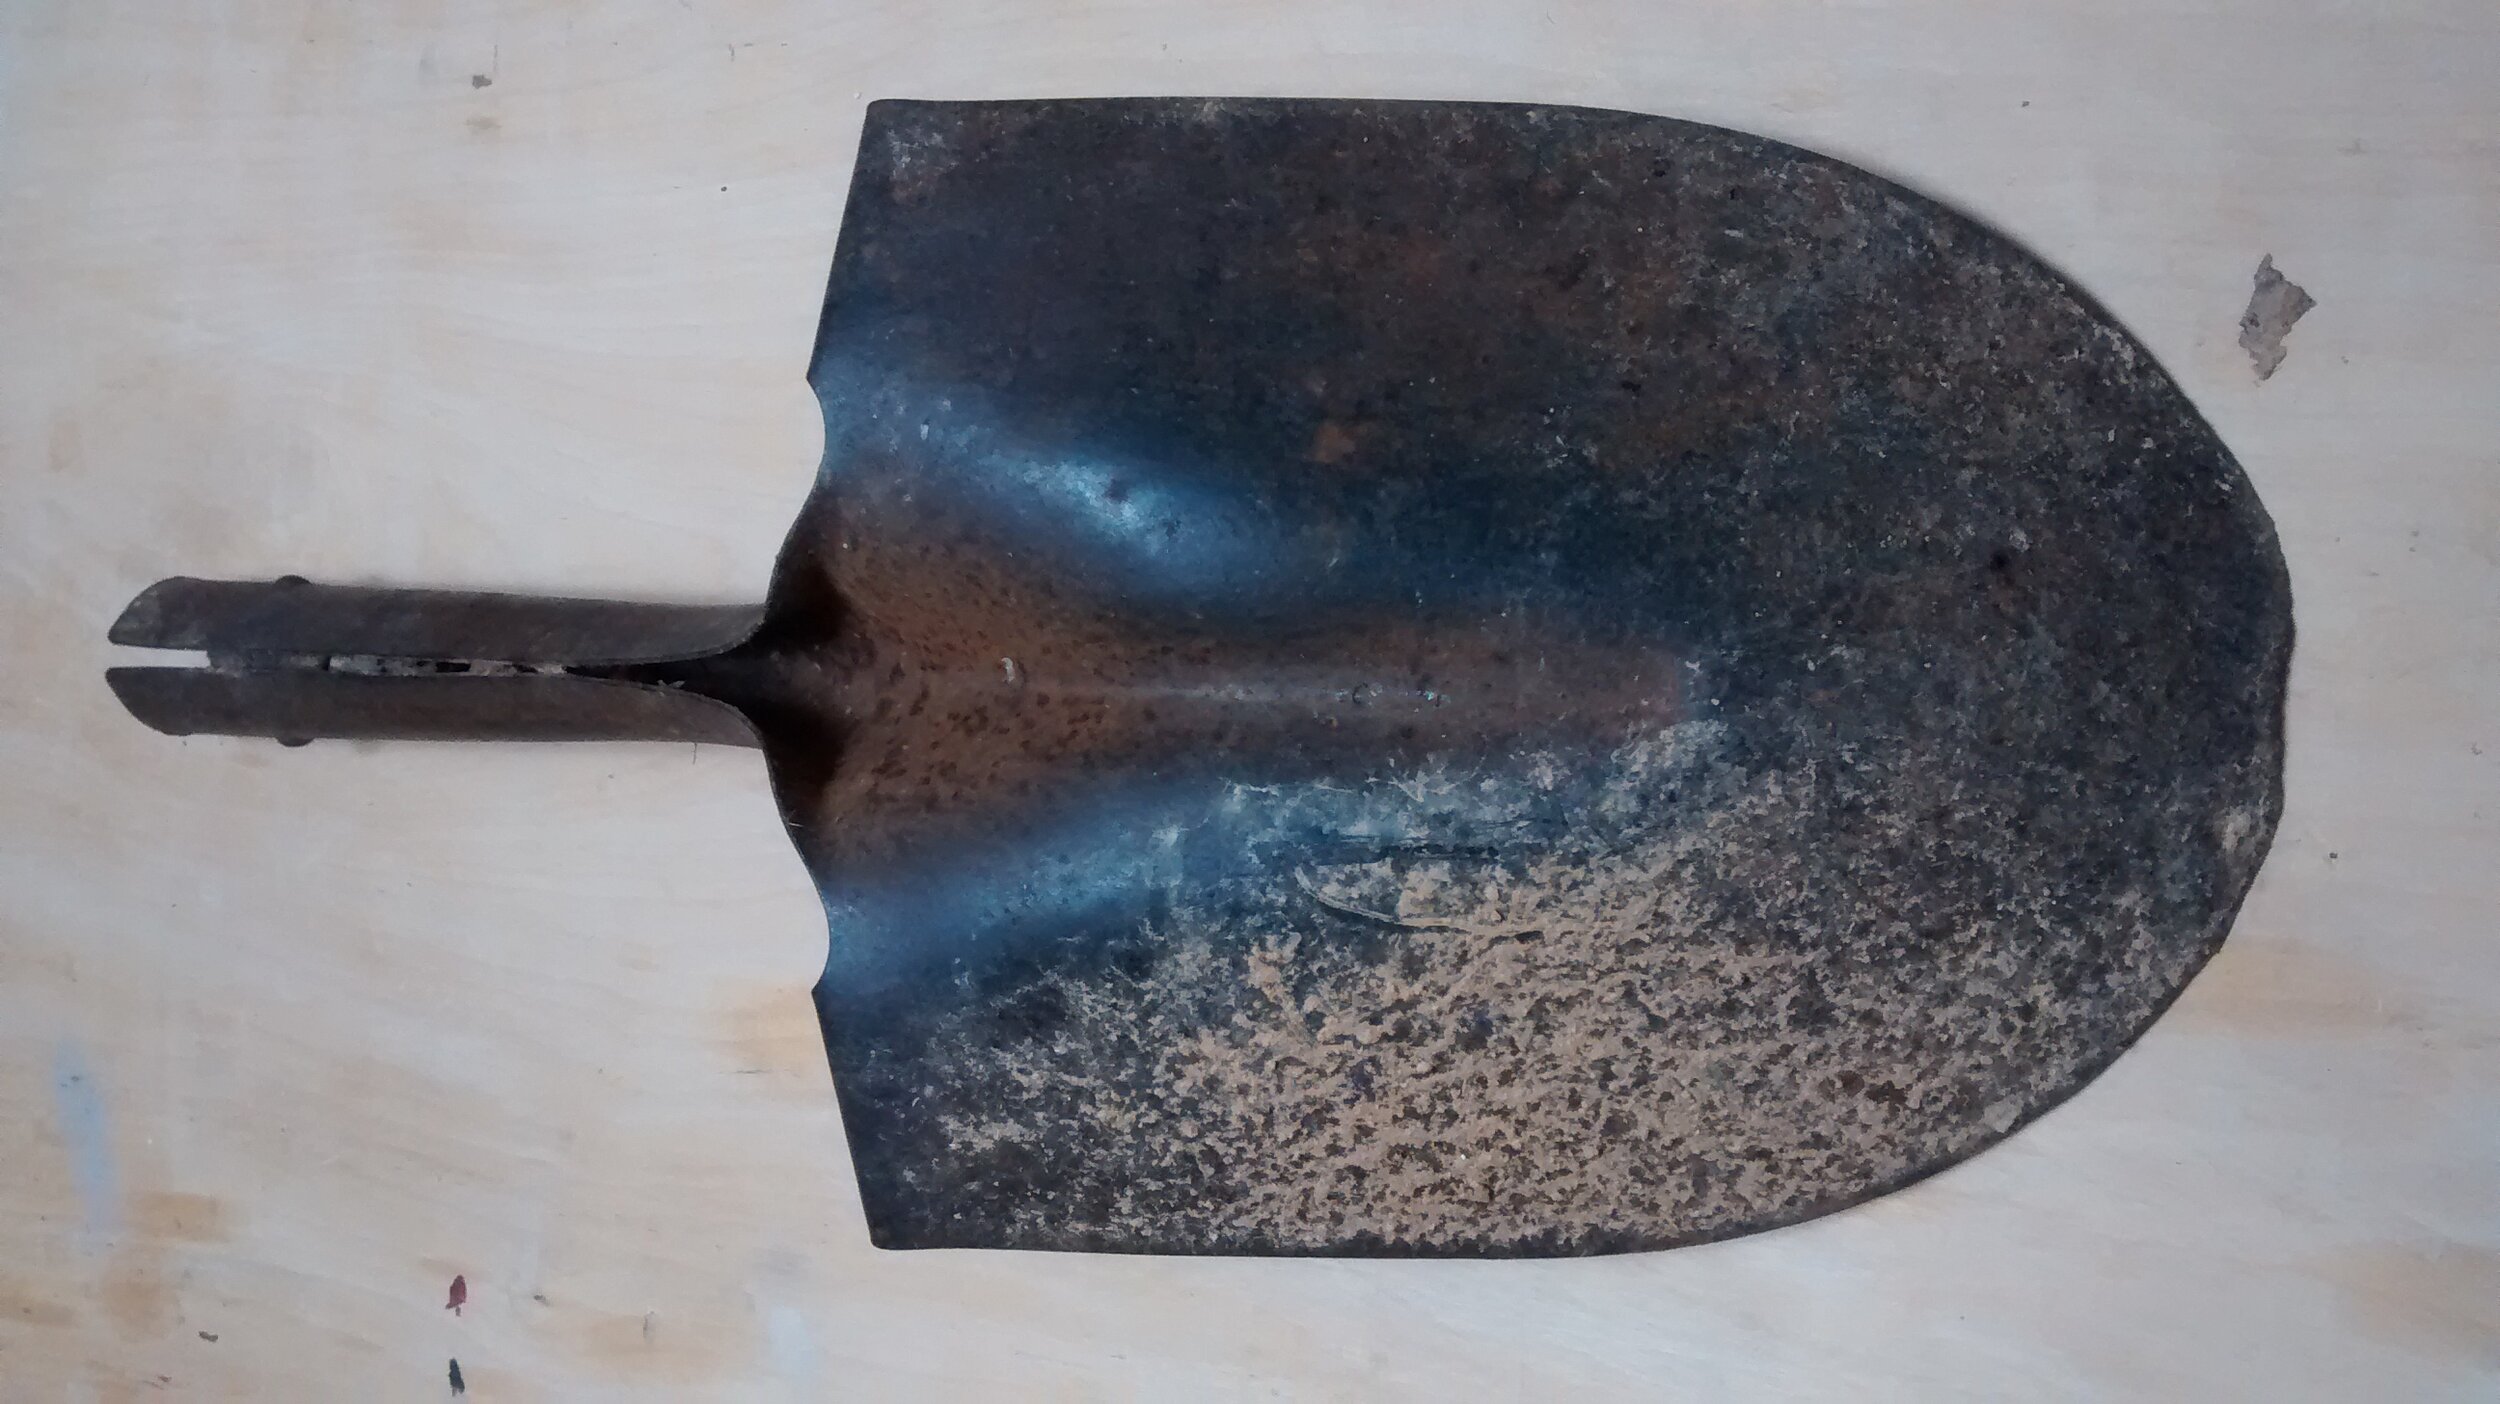
I found this shovel head (with no handle) abandoned in an alley of my Glover Park neighborhood of D.C. Clearly, it was no longer of use to anyone wanting to dig anything. I extracted the rotten stump of the broken handle from within the metal sheath and cleaned up the metal head with Comet, water, and a wire brush.
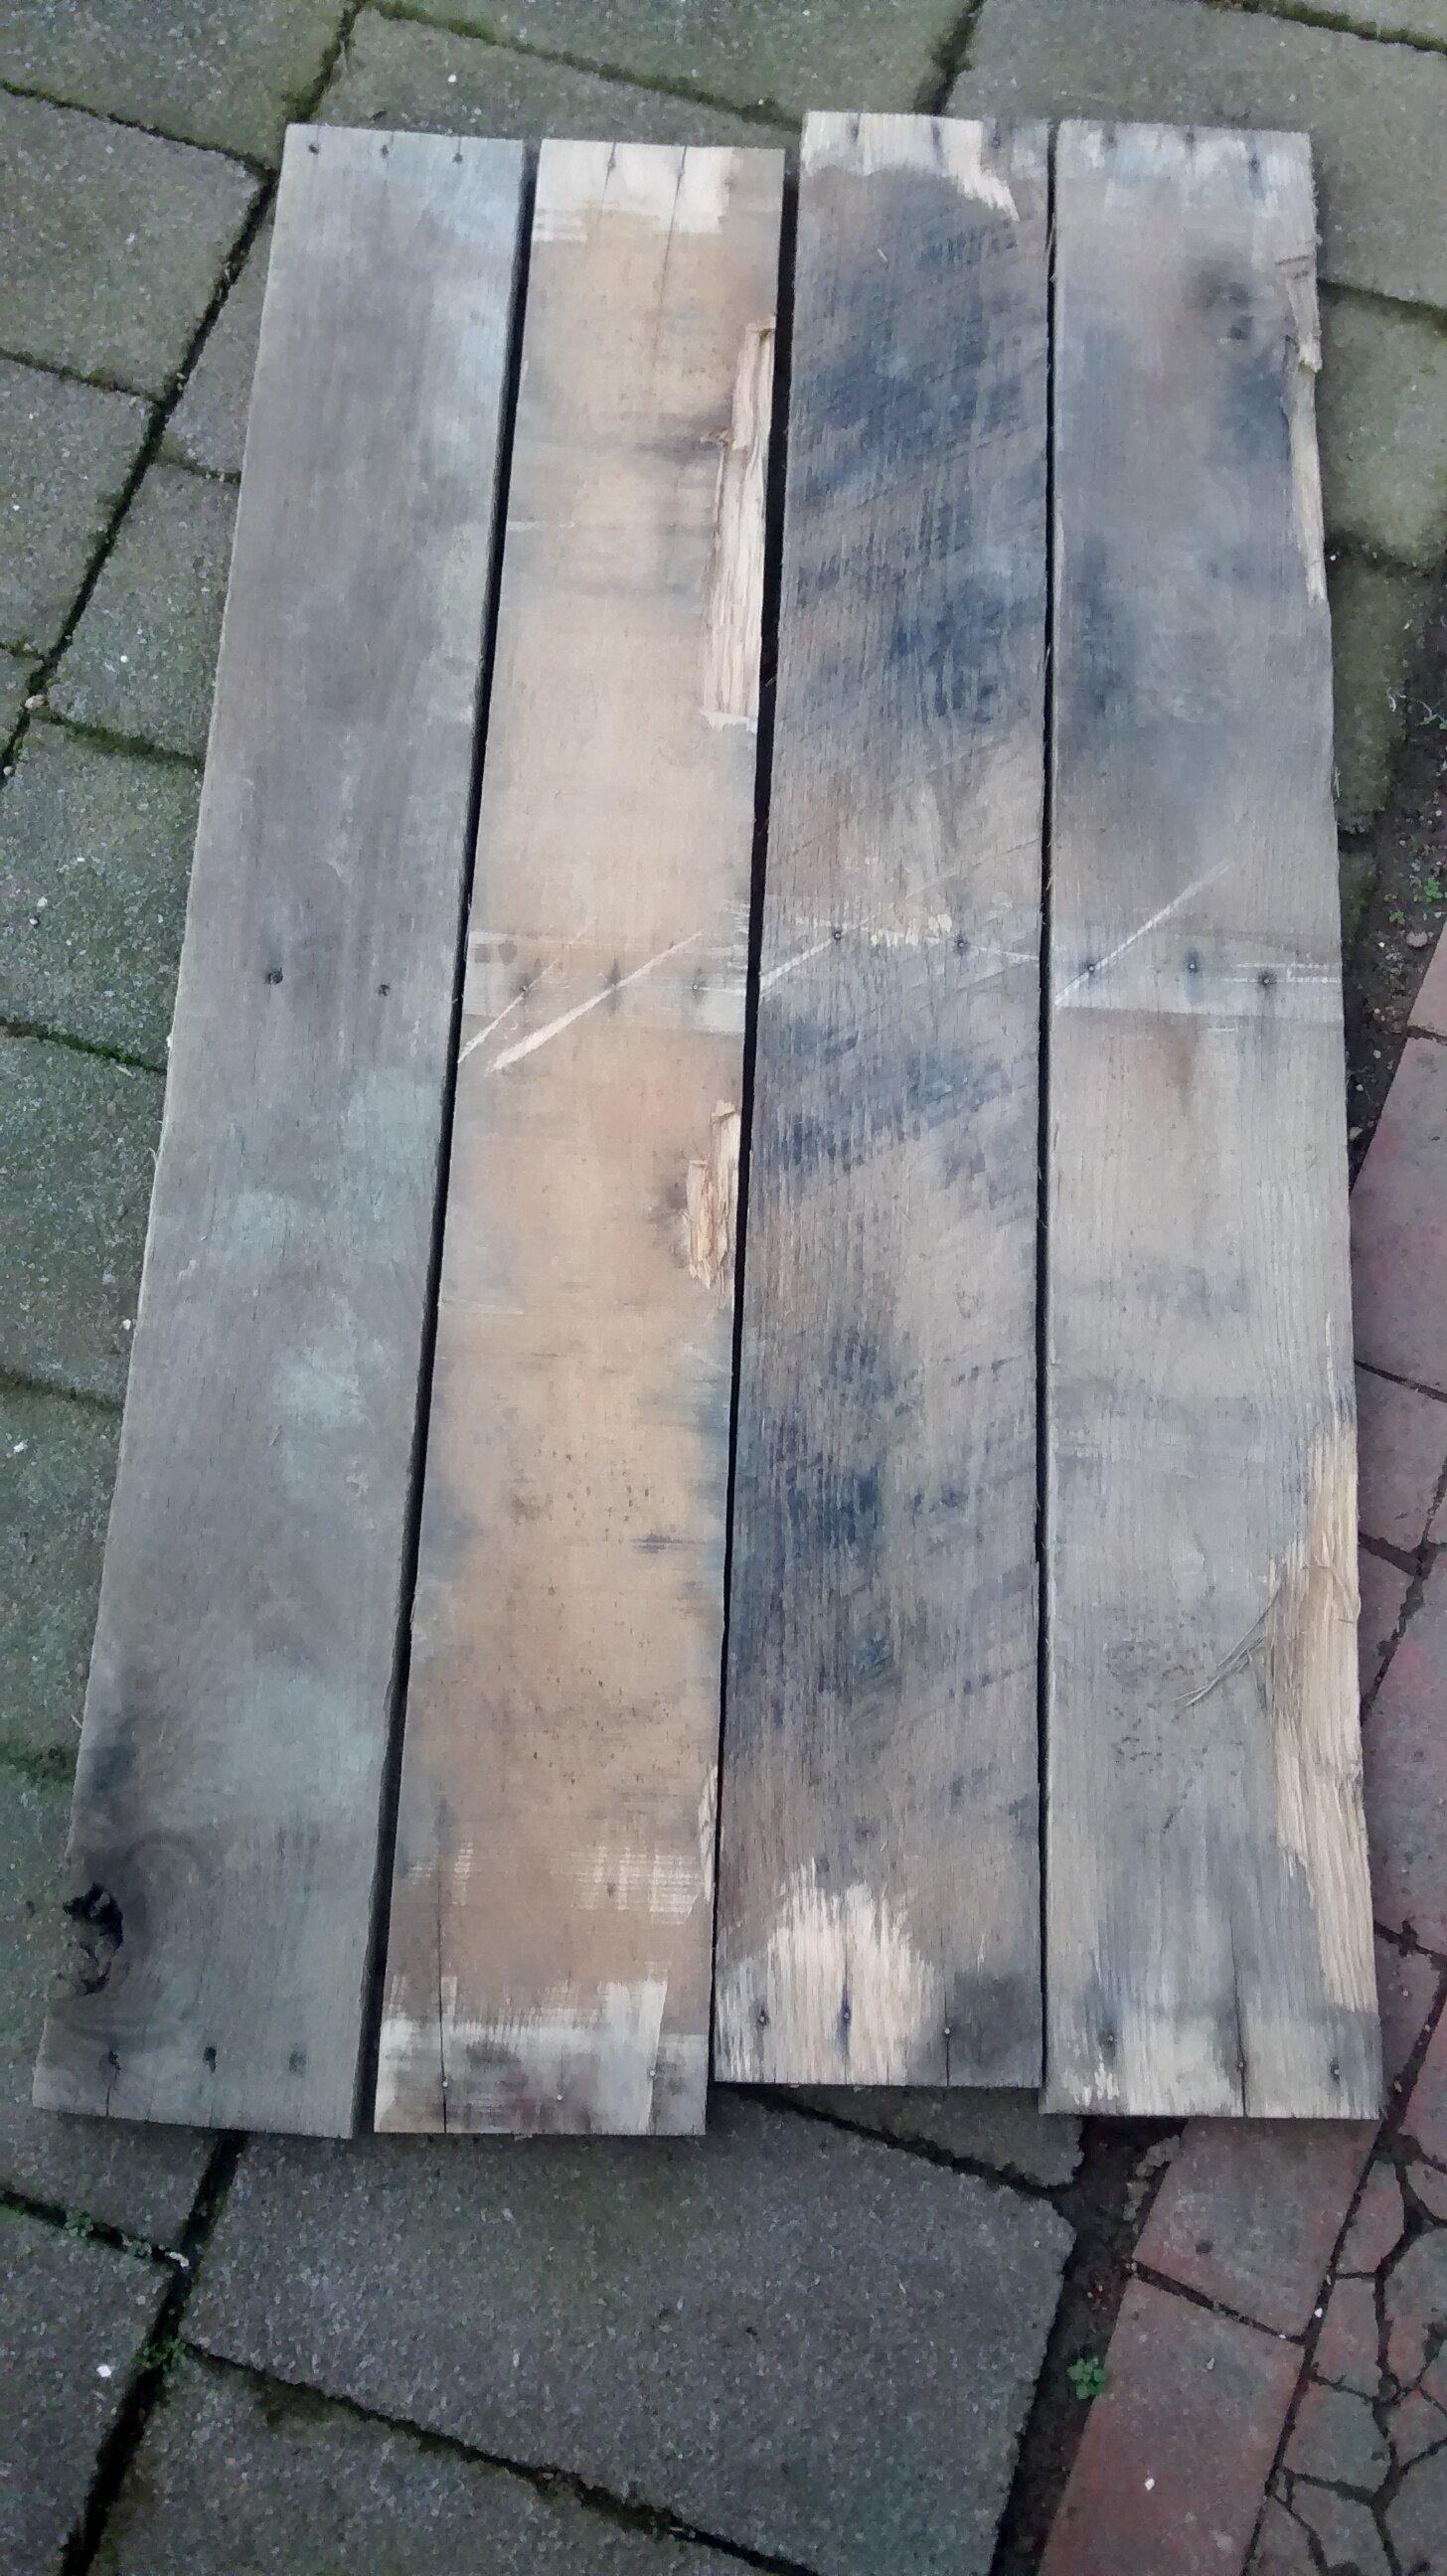
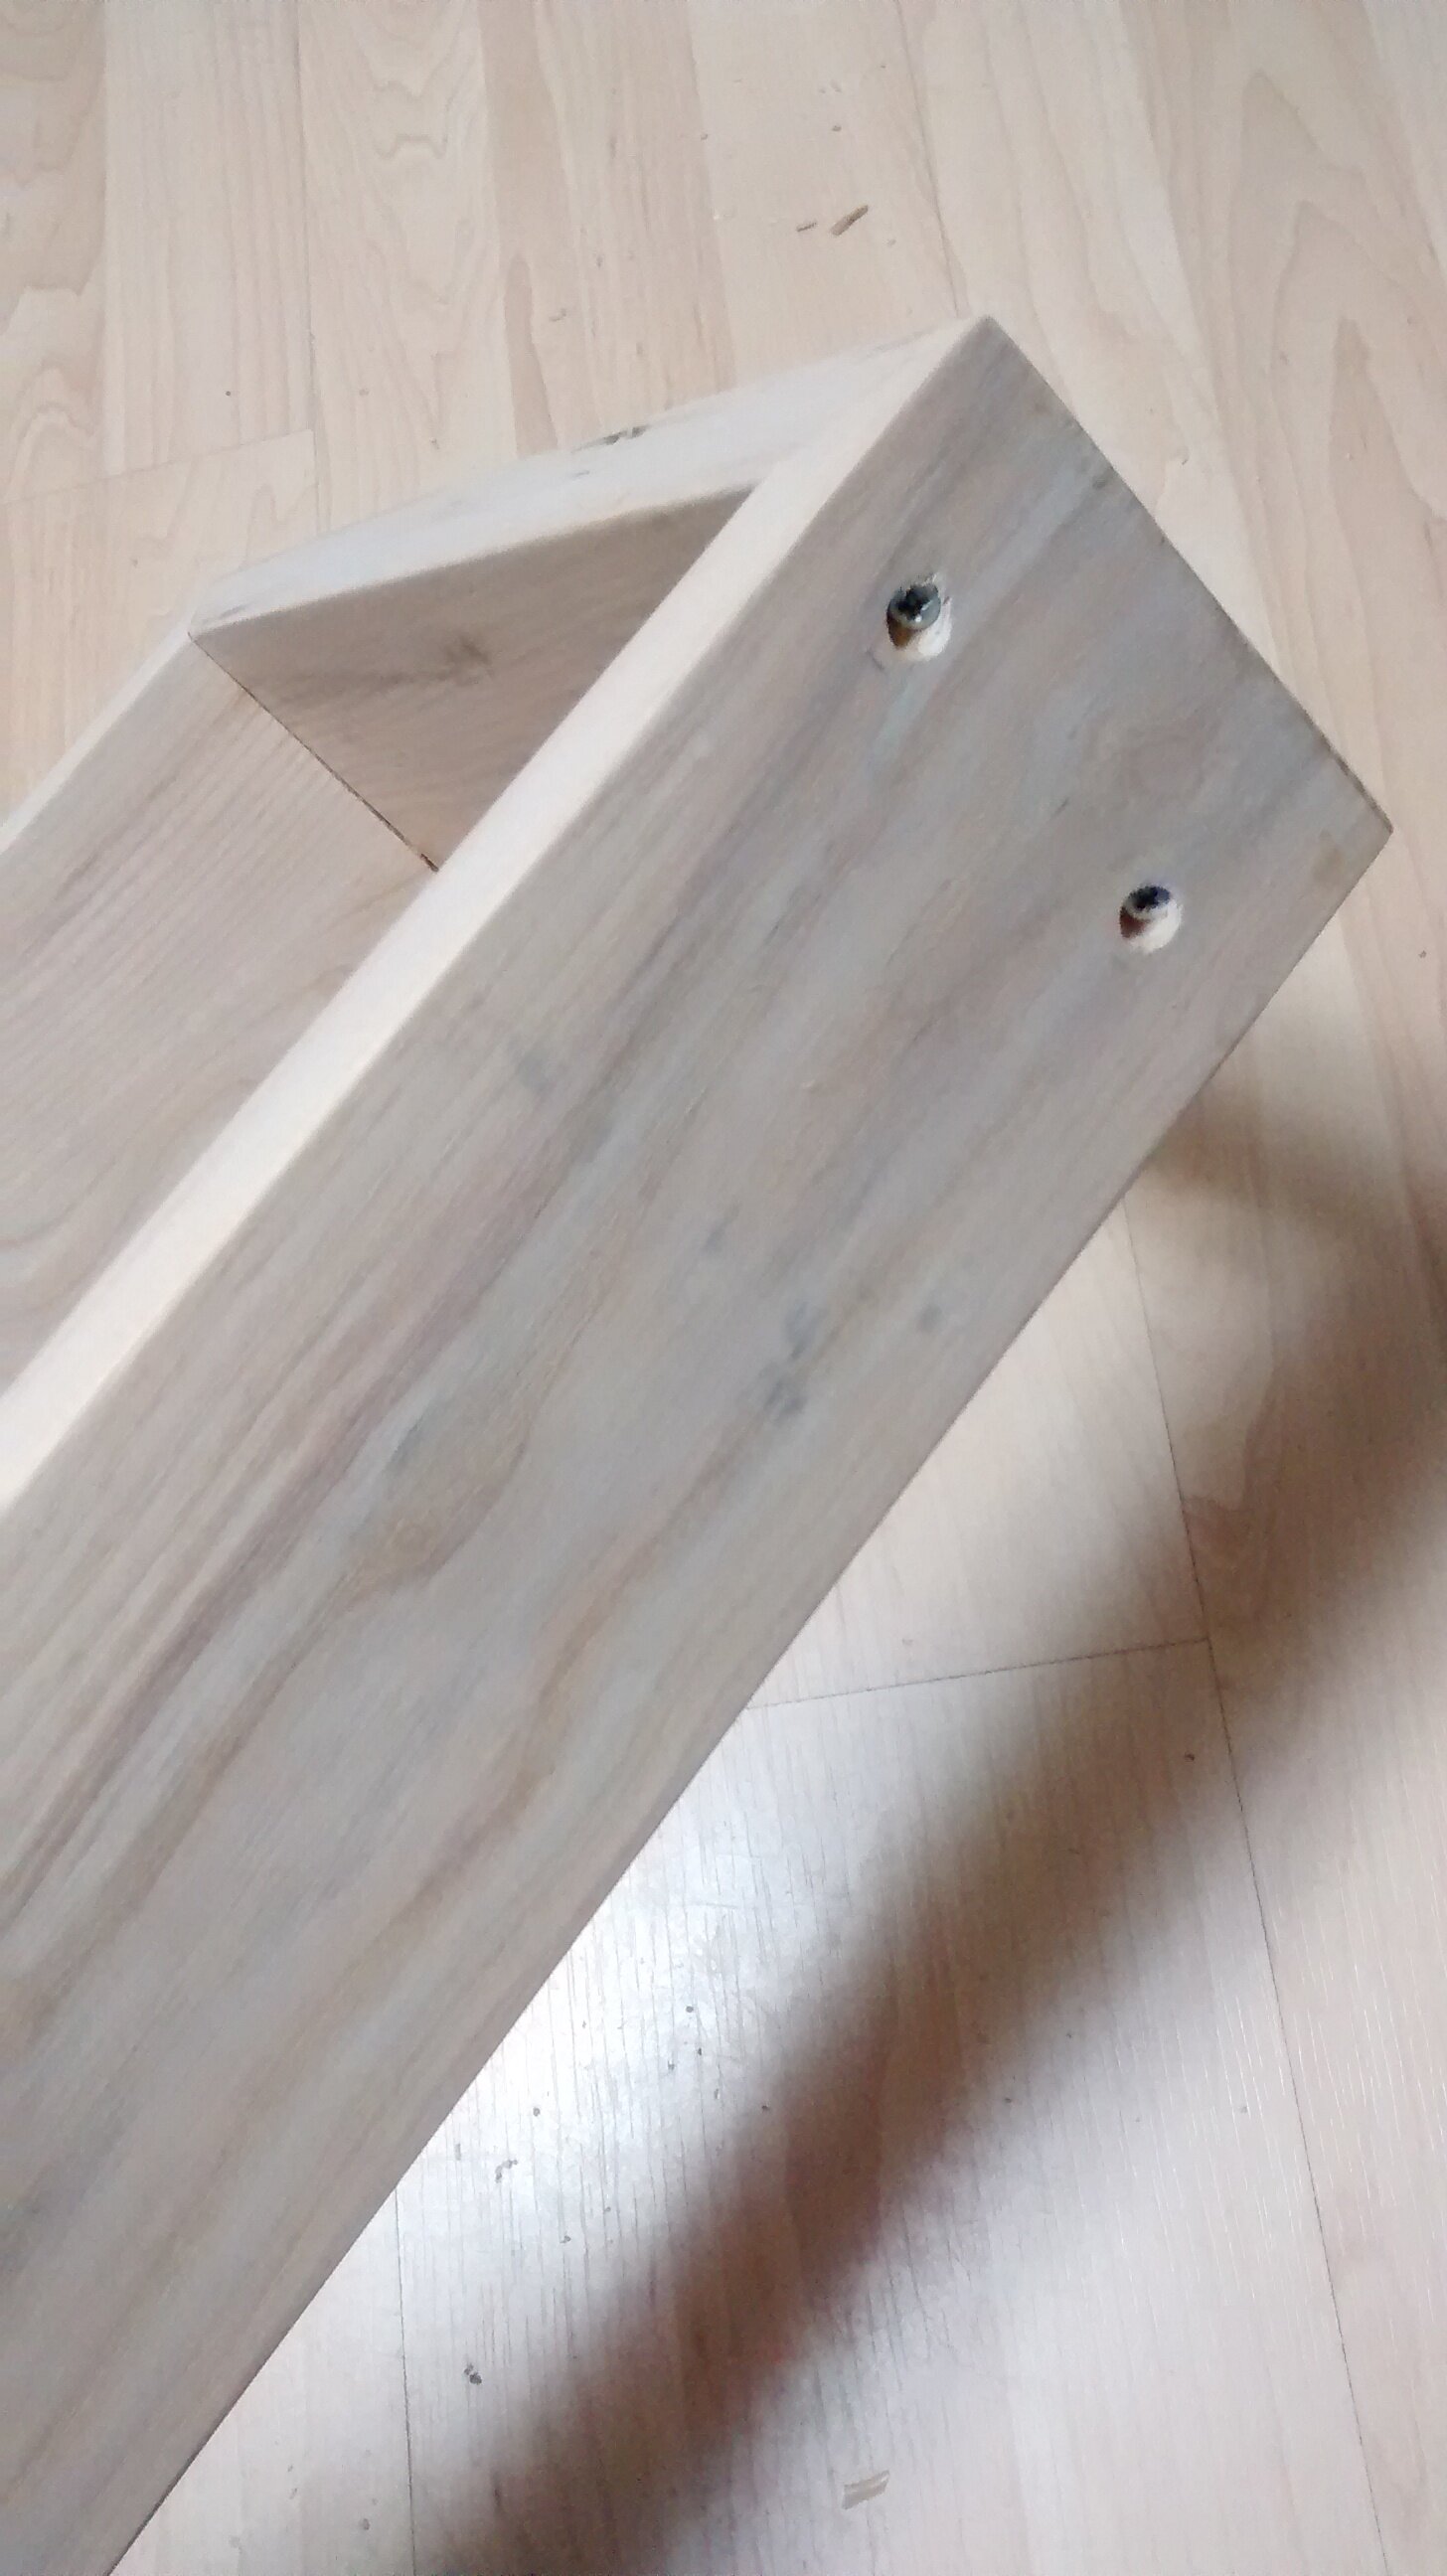
For the frame I used what I’m pretty sure is oak wood from a pallet I found on the sidewalk next to Duke Ellington School of the Arts in the nearby Burleith neighborhood of D.C. This wood was in very rough shape, but I got it looking nice by washing it off, then using a belt sander and finally hand sanding. I used a router to cut away one long edge, to accommodate the recessed backing piece. I used my miter saw to create beveled corner joints. I secured the four corners with glue and wood screws, covering the recessed screw heads with wood putty. I applied Minwax “Provincial” stain to the frame, which nicely complements the tone of the metal. I finished the frame with three coats of Minwax water-based clear satin Polycrylic, with a light sanding before the final coat. I did these stain and poly finishing steps to all but one exterior side of the frame, where I had to attach the handle; after that, I finished the final side.
The backing piece is exterior grade plywood, cut in a classic bead-board pattern, which I found months earlier in an alley across the street from my house. I applied flat white paint to the plywood and quickly wiped some of it off, for a whitewashed look, like you might see in an old farmhouse. This treatment of the background helps reveal some of the wood grain and creates a nice contrast with the frame and the shovel head. I attached the backing to the virtually finished frame with wood screws.
The final major step was to firmly attach the shovel head to the frame and the backing piece. I used my Dremel on the thick part of a no-longer-needed handle from another reclaimed shovel to create a stub that I glued well down inside the wide end of the sheath. I drilled a shallow hole about the same diameter as the handle stub in one of the short inside surfaces of the frame. I used glue on the inside and countersunk a long wood screw from the outside of the frame into the stub as one attachment point. I also cut and sanded a narrow piece of the same discarded shovel handle to insert in the narrow end of the sheath. The part that sticks out behind the shovel head rests directly on the backing piece, to which I attached it with glue and a wood screw from behind.
Related Items: Roof Shovel Head in Reclaimed Wood Frame; Gas Valve Cover Wall Art; Found Metal and Reclaimed Wood Circular Wall Art #1; Found Metal and Reclaimed Wood Circular Wall Art #2; Found Metal and Reclaimed Wood Circular Wall Art #3; Rough and Rustic Reclaimed Wood Star #1; Rough and Rustic Reclaimed Wood Star #1; Rough and Rustic Square in Square; Lawnmower Blade “Sculpture” #1; Lawnmower Blade “Sculpture” #2; Lawnmower Blade “Sculpture” #3; Lawnmower Blade Table Lamp.


