Parquet Design Reclaimed Wood Wall Art
Dimensions: Approximately 29.5 inches square and ¾ inch thick; Weight 14 pounds. This one-of-a-kind piece shows off just a bit of the variety of tones and grain patterns that can be found in pallet wood. For me, the repeating four-quadrant pattern evokes a large-scale section of parquet floor, but also brings to mind a quilt. Making the piece this size enabled me to use as much of each original plank as possible while avoiding the nail heads and nail holes that always come with pallet wood, thus creating a more refined look. I think it would look nice in many places, such as a living room, den, dining room, bedroom, hallway or office. What do you think? Two D-rings are attached to the back, so all you need to hang it is a wall, a hammer, and a couple of nails. $200. Click here to purchase.
The Story
For the frame I used new 1x2 pine lumber from The Home Depot. Using a router, I rounded the top edges and cut a groove in the bottom to accommodate the backing. Then I cut the boards to length with mitered corners. Next, I did a special but necessary process. All wood, when it absorbs a liquid like primer or paint or water-based polyurethane, tends to expand, and sometimes it can become rough, almost like you’d never sanded it. The raised grain is called whiskers and the process of fixing this problem is called de-whiskering. I brushed the surfaces with warm water and let them dry, then lightly hand-sanded them smooth again. After attaching the four frame pieces to the backing piece of 1/8-inch-thick underlayment—with glue and ½-inch screws—I painted black “shadow lines” where the pallet planks would align, so just in case of any small gaps, you wouldn’t see the natural color of the backing piece. To finish the frame, I applied a black stain (Minwax “Ebony”) and then, for a little shine to contrast with the pallet wood, three coats of Minwax water-based clear satin Polycrylic, with a light sanding before the final coat.
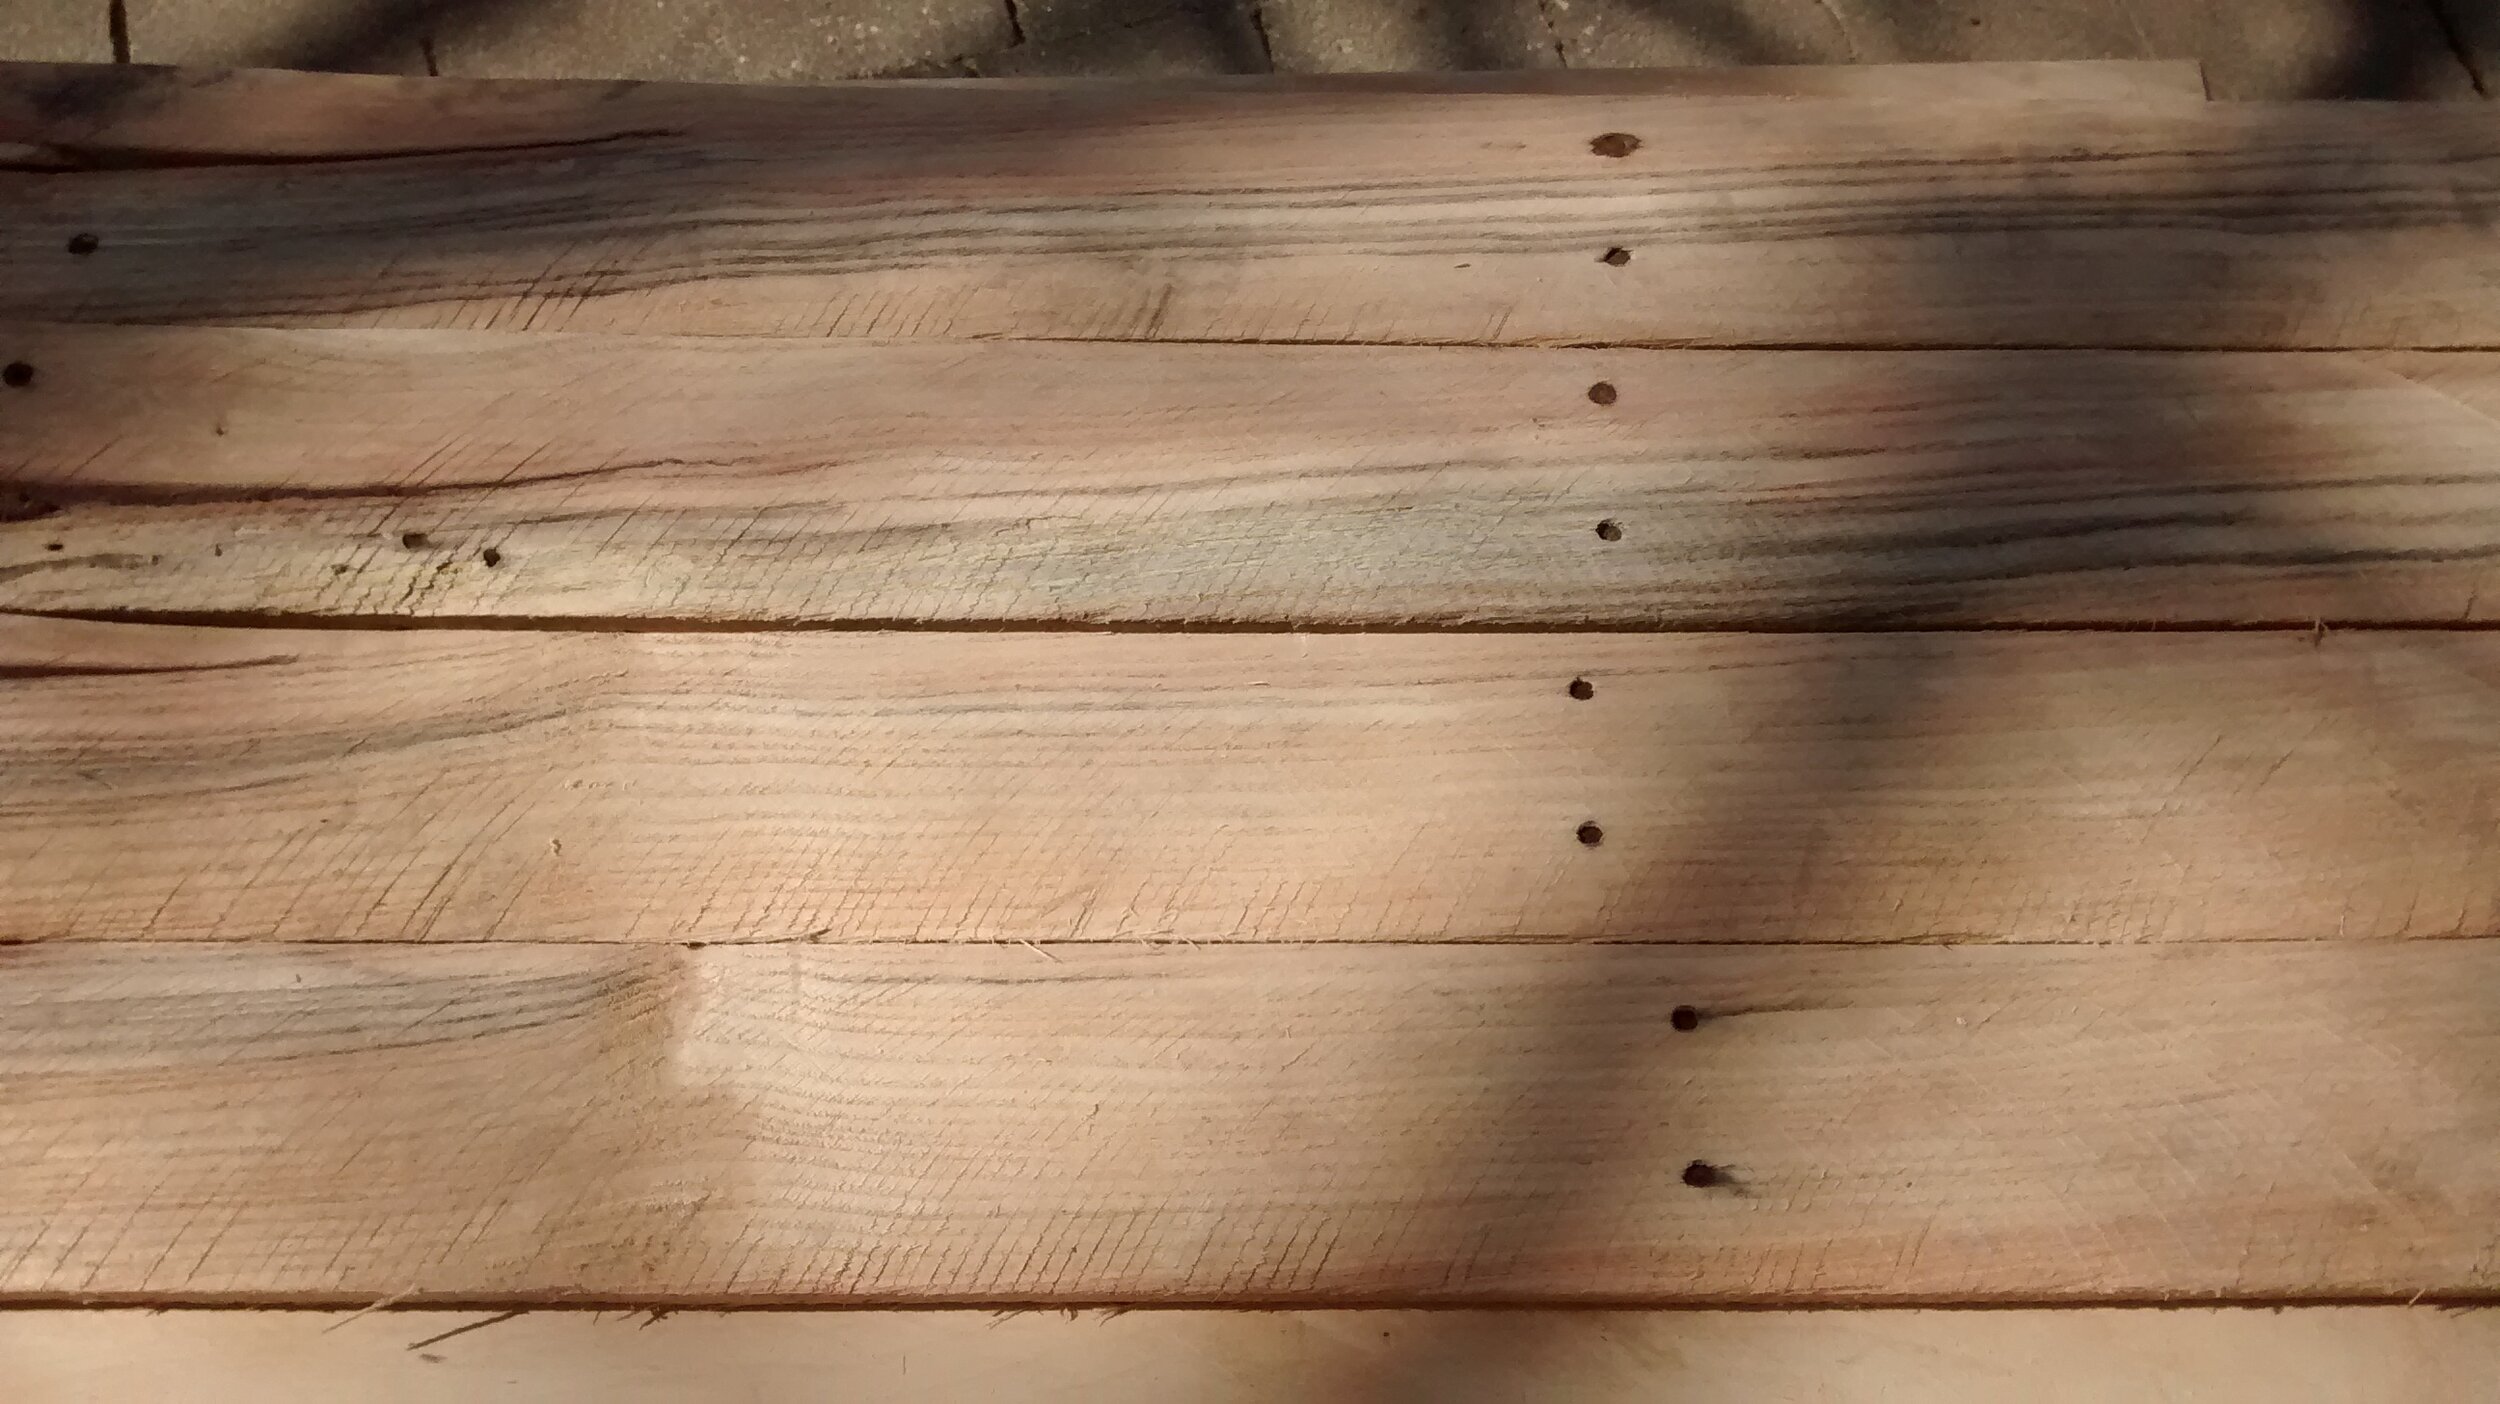
For the main feature, I needed eight full-length pieces of pallet wood: two virtually matching boards representing each of four different looks in terms of grain patterns and tones. Getting matching boards is not difficult, because pallets typically are made from adjacent slices from the same tree. Also, each board had to be quite flat and straight, not as warped as pallet wood sometimes is. Each board yielded two pieces for the design. I put the segments from one original board in the two vertical quadrants and the two segments from its matching original board in the two horizontal quadrants. Because I had already belt-sanded all the pallet wood planks clean and smooth (for efficiency, I often work on large batches of pallet wood at a time ahead of time, so they are more ready for projects I design later), they only needed a little final touching up. After cutting the planks to the proper length with my miter saw, I used my router to round off the top edges. This not only gives the project more depth and texture overall but also creates a better transition to the frame. (Square-edged inner pieces up against a rounded-edge frame of the same thickness would look weird, unfinished.) I put the 16 pieces through the same de-whiskering process described above. Then I applied my selected finish, clear (“Natural”) Watco Danish Oil. The before and after pictures highlight the beautiful difference this product makes, how it brings out the wood’s natural color and accentuates the grain. To keep the pallet wood looking natural, with no sheen, I didn’t apply any polyurethane or varnish. I glued the pieces down to the backing, inside the finished frame, a few at a time.
Related Items: Found Metal and Reclaimed Wood Circular Wall Art #1; Found Metal and Reclaimed Wood Circular Wall Art #2; Found Metal and Reclaimed Wood Circular Wall Art #3; Chevron Pattern Reclaimed Wood Wall Art; Plaid Basket-Weave Pattern Reclaimed Wood Wall Art; Ten Stripe Design Reclaimed Wood Wall Art; 25 Small Squares Reclaimed Wood Wall Art; Pyramidal Reclaimed Wood Wall Art; Stained and Natural D.C. Flags; Abstract Wall Art from Reclaimed Wood.


