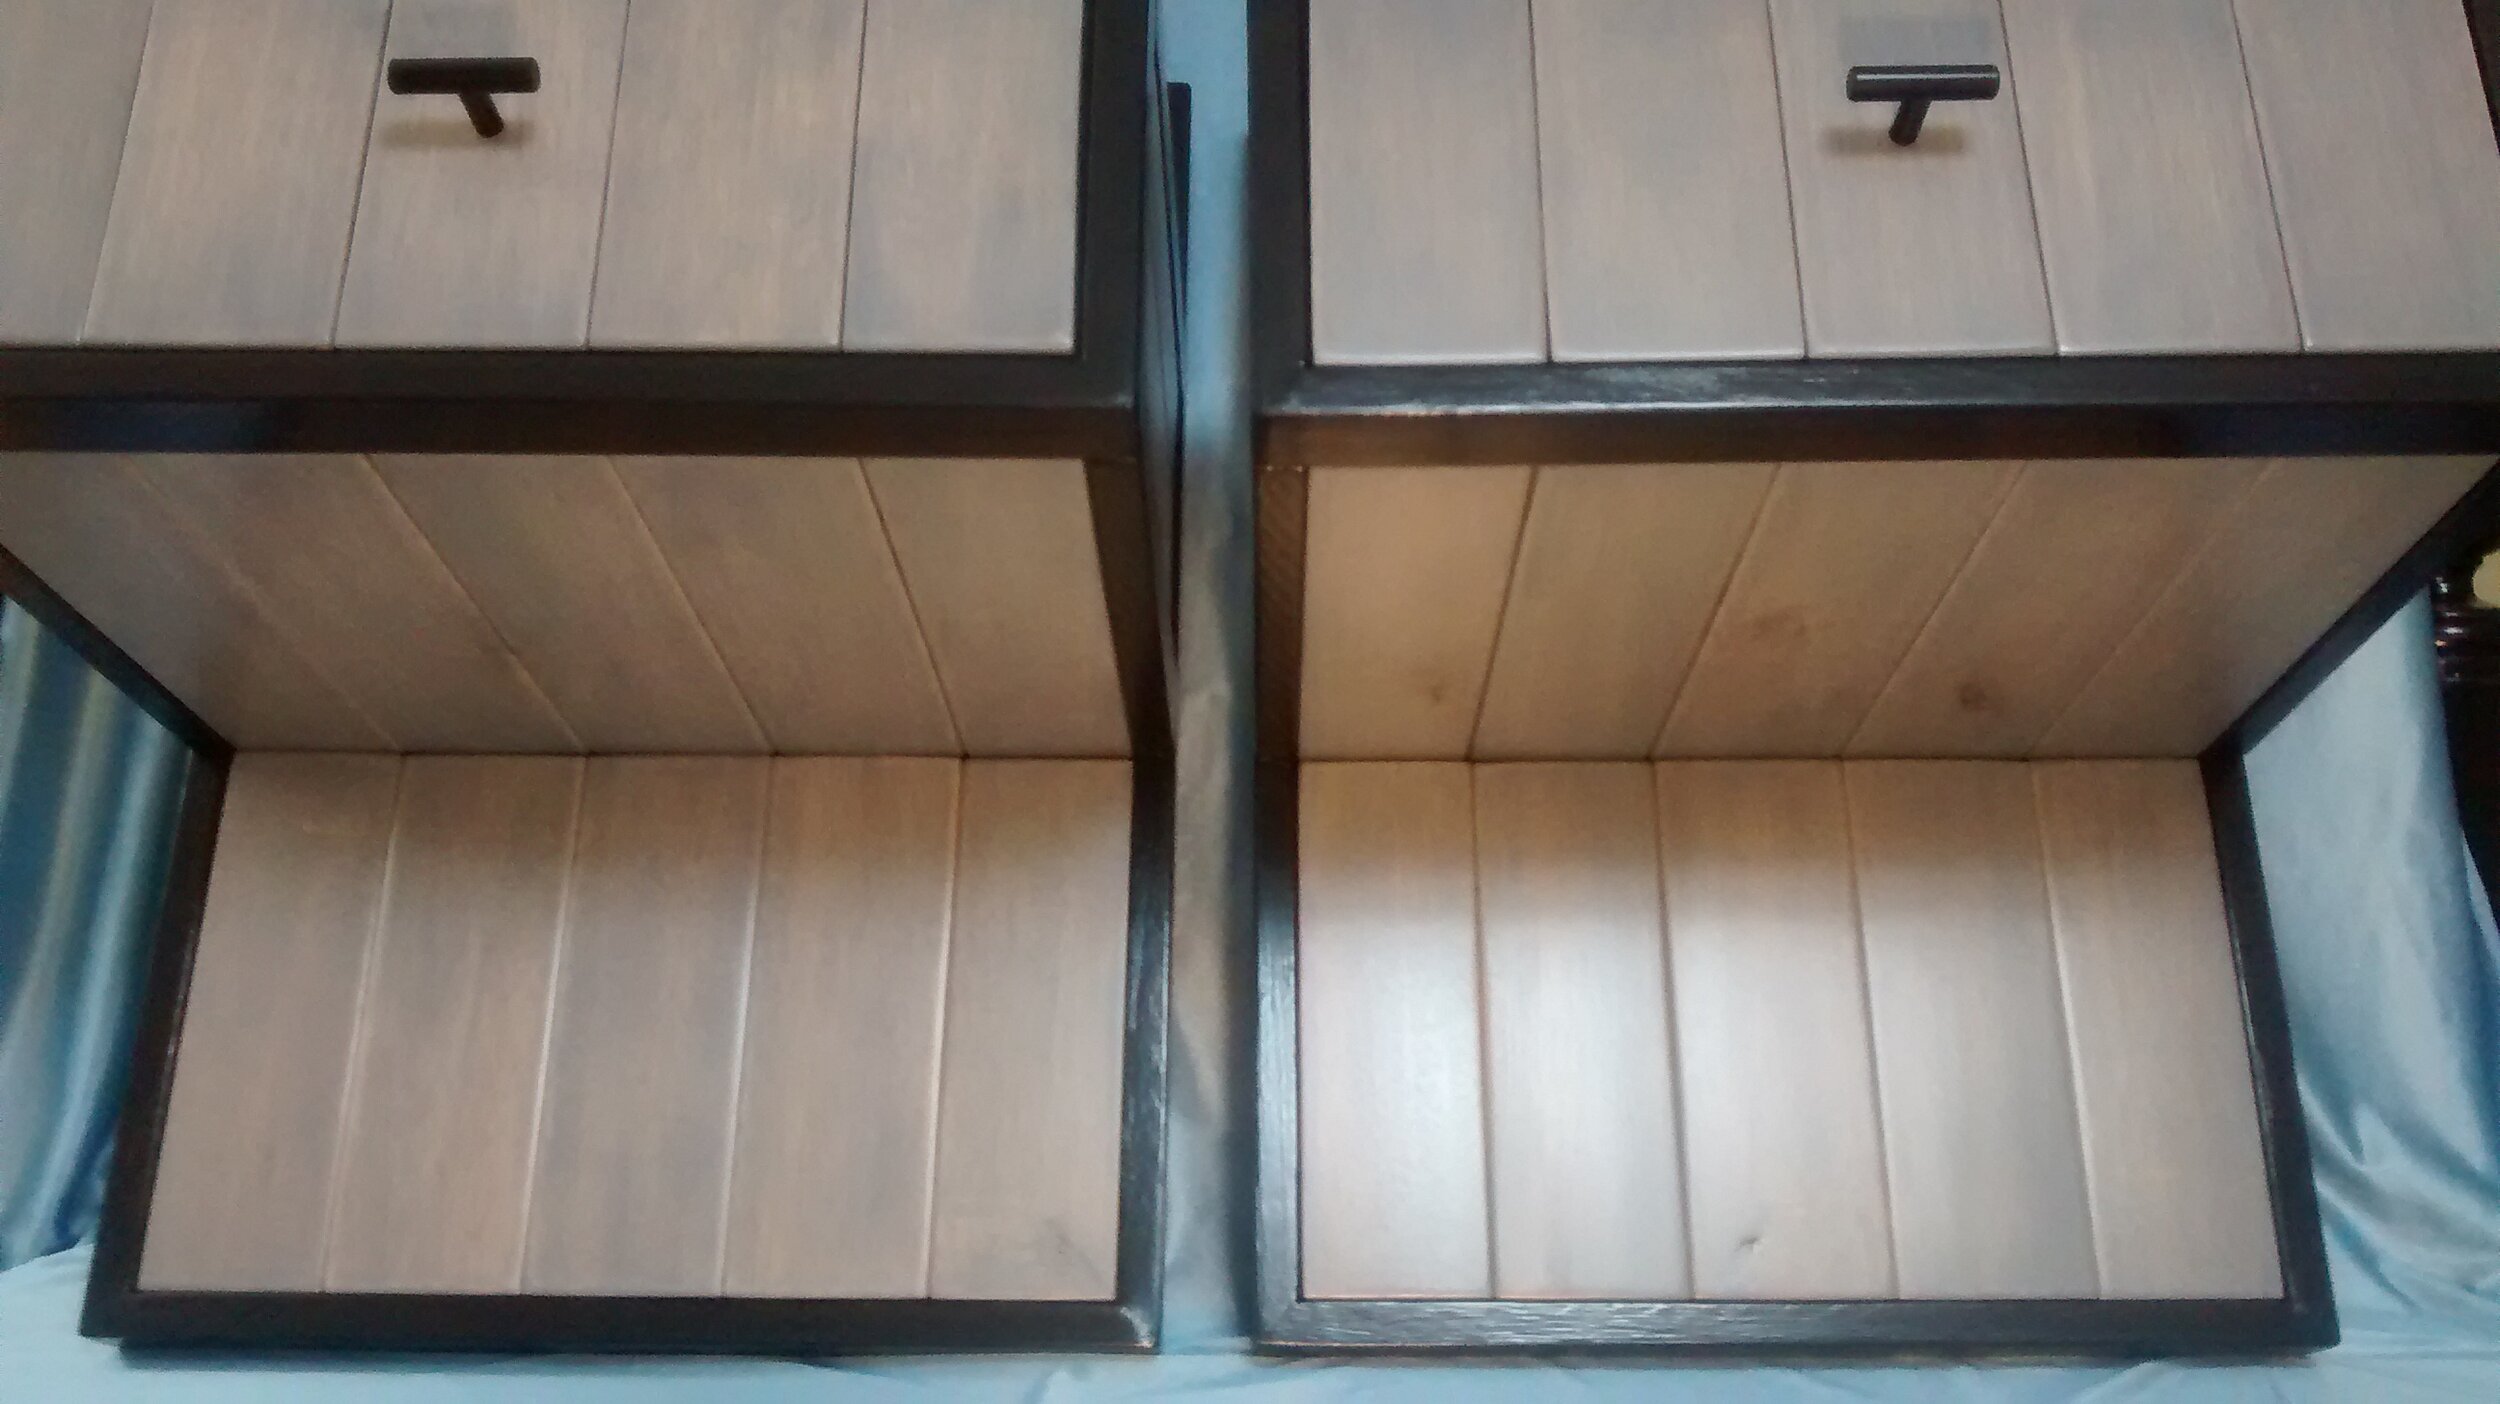
Wall-Mounted Bedside Nightstands
Not for sale; this was a commissioned job. Dimensions: Height, 25.25 inches; Width, 18 inches; Depth, 14.5 inches; Backing piece is 1.5 inches thick; Weight, 26 pounds each. The interior dimensions of each removable drawer are 12.5 x 12.5 x 5 inches (about half a cubic foot). Some friends of mine were redecorating their bedroom but traditional beside tables, with legs, would not work, because they would block the drawers under the frame from opening. So, my friends wanted “floating” nightstands, mounted to the wall. They wanted something relatively simple; they liked the look of some pieces on my website and really like furniture from Room and Board. They also wanted it mainly to be stained gray, which would match an old dresser that I refinished for them, as well as other elements of their new décor. The overall height and width were determined by the space available on their wall. This was the most complex upcycling project I had undertaken to date, requiring a lot of precision, a lot of careful sequencing in production, and a lot of separate pieces that had to fit together perfectly. I’m pretty proud of the final products.
The Story
The foundation or backing piece is plywood roughly 3/8 thick. The horizontal box that holds the drawer is made of 1x10 pine lumber and some ¾-inch laminated pine lumber from Home Depot. I attached each drawer frame to the backing piece with glue and ten 2 or 2.5-inch-long wood screws. Each drawer is made from ¾-inch thick pine and 1/8-inch thick underlayment from Home Depot. The thin bottom, front and back minimize the drawers’ weight. The drawers slide in/out on 12-inch-long metal bottom-mount slide sets by Everbuilt, also from Home Depot.
I proposed a black border around the frame to create a clean, uniform look and to complement other design elements in my clients’ bedroom such as picture frames. The border also hides the French cleat on the back, by which the piece hangs on the wall. The border/frame is made from pine 1x2 lumber from Home Depot. I cut the pieces with mitered corners; rounded off the long edges with sandpaper; glued, screwed and nailed them to the main structure; filled the holes over the screw and nail heads; applied a coat of primer; applied a coat of black semi-gloss paint; sanded all those surfaces; and added a second (and sometimes third) coat of paint. I also applied black paint on the frame where every seam between the pallet-wood pieces would be, so the underlying natural wood color would not be seen; it would create more of a shadow line.
In keeping with my upcycling inclinations, I proposed a design that would feature reclaimed pallet wood, instead of using all new lumber. It feels good to reuse old materials and it’s cheaper. I chose a type of wood (possibly a type of cedar), fairly common in pallets, that has a light red tone and a subtle grain pattern, and—most importantly for a product hanging on and sticking out from the wall—is lightweight. Each table features 29 pieces of pallet wood. Each piece had to be individually measured and cut; belt-sanded, hand-sanded, wetted with water, and hand-sanded again when dry; stained with “Weathered Gray” wood stain by Varathane; and coated with at least three layers of Minwax water-based clear satin Polycrylic, with a light sanding before the final coat. (And I typically waited 24 hours between each coat of paint/stain/poly.) Then most of the pallet pieces could be glued to the frame one set at a time—e.g., all five pieces on the top of the drawer, then all five of the pieces on the upper back, etc. An exception was the drawer fronts; each of those 10 pieces had to be attached one at a time. I let the glued pieces set in place for 8–10 hours to ensure solid adhesion. The drawer pulls match those I used when refinishing the clients’ dresser.
One careful design feature that is hard to notice in pictures of the final piece, because of the gray stain, is that in laying out the original planks for cutting, I cut shorter pieces for each column or row from the same full/original piece. So, the wood in the far-left column/row—from the upper face, down onto the top of the drawer, and continuing down onto the drawer front, comes from the same piece of wood, so the grain is continuous and consistent. The same is true for the wood that starts on the underside of the drawer and continues down onto the bottom face.
Related Item: Refinished Dresser.


